In using LinkFixer Advanced, you may have noticed that there seems to be no obvious option to filter links when initially scanning files. However, there is a quick and easy way to do this! If you need to filter (inclusive or exclusive) links in your reports, you can accomplish this quickly and easily by doing the following steps:
1. After doing your scan, select the “Create Report” tab.

2. Choose the type of report you wish to run (either Regular, Cross-Reference, or Broken Links report).

3. Once you have selected the type of report, you will see that you can deploy filters. This is where the program presents filters for filtering types of files, and filters for filtering links. You can control what types of links you wish to include or exclude in your reporting. You make your selection based simply upon the type of file being linked to.
Do you have questions regarding this article? Let us know in the comments below or e-mail us at: LinkMail@LinkTek.com
")
Leave a Comment
Recent Comments
- No recent comments available.

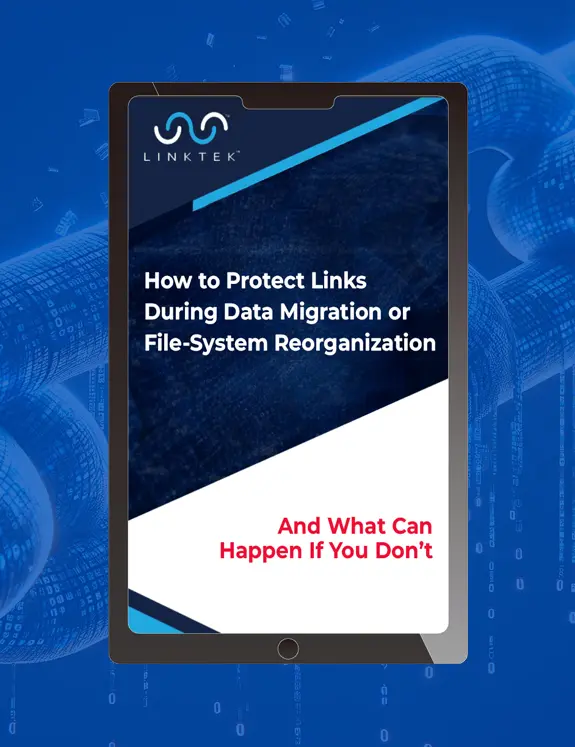
Planning Data Migration the Right Way
Fill out the form below to download your copy.
We hate spam. We don't sell e-mail addresses.
* Required Field
Related Posts

The MSP Growth Trap
Why do some Managed Service Providers (MSPs) scale faster, protect margins better and keep their best techs and engineers happier? It isn’t because they put in longer hours. The difference is what their techs and engineers spend their hours doing.
Read the Full Article
6 Pre-Migration Red Flags IT Teams Should Know
Every enterprise migration starts with a plan. Someone draws up a timeline, assigns a project manager, schedules the cutover window, and at some point in a meeting, someone says, “It’ll be fine. It’ll be great. It’ll be seamless.”
Read the Full Article
Unexpected Chaos After a Successful Migration
The weekend migration was a success. The project team worked late into the night. Content was transferred. Libraries were recreated. Permissions were preserved and validation checks were passed.
Read the Full Article
Unique Migration Service Eliminates Common SharePoint Migration Problems
LinkTek announces the launch of its new SharePoint Migration Consulting Service.
Read More
Release of New Version of Link-Fixing Software Offers Support for Migrations To or From Box.com
Data migrations can be tricky. Migrating to or from Box is no different. Get some help.
Read More
Latest Release of LinkFixer Advanced™ Streamlines Cloud Data Migrations
Migrating to the cloud? Link-fixing software helps prevent post-migration data-loss. Chat with us about options, including a free webinar.
Read More